Have you ever come across a requirement where you were asked you to replace the standard ‘Submit for Approval‘ button with a custom button instead that is more flexible and functions better? If yes, then read on!
Requirement: Since the standard ‘Submit for Approval‘ button cannot be modified, we need to create a new custom button that can invoke an Approval Process and can be conditionally enabled/disabled for a better user experience. The Approval Process is for requesting discount on an Opportunity record and the button should only be enabled (not greyed out) when the Opportunity Stage is either ‘ Proposal/Price Quote ‘ or ‘ Negotiation/Review ‘.
Solution: We will need to create a Visualforce page for handling the enabling/disabling of our custom button for which we will employ jQuery as well. The Opportunity View will be overridden using this Visualforce page. The custom button itself will be created using Javascript via which we will handle the invoking of our custom Approval Process. So without any further delay, let’s get down to business.
-
Create the custom Javascript button
The following button code will go through all existing Approval processes on the Opportunity object and then launch the one which matches the entry criteria of our record.

Discount Approval Custom Button We will add this button to our Opportunity detail page later.
-
Create the Visualforce page
The following page code will conditionally enable/disable our custom button depending upon the Opportunity Stage.

OpportunityCustomButtons.Page (Click to view a larger image) -
Override the Opportunity View
As a final step of our implementation, we need to override the Opportunity View with our above VF page.
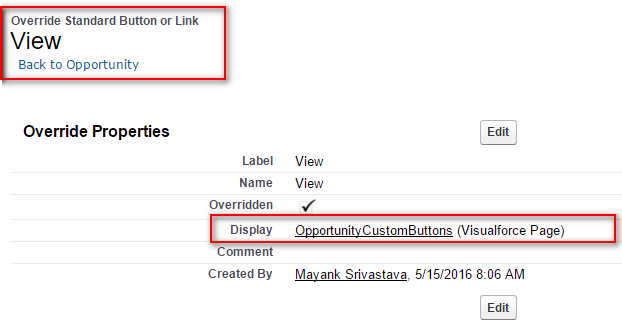
Opportunity View Override


And that’s it! Don’t forget to add the custom button to your Opportunity layout. With three simple steps, we were able to give a whole new meaning to the standard ‘Submit for Approval’ launch process. Let’s see it in action:


As always, if you were able to accomplish the same using a simpler and more elegant solution, please feel free to share it in the comments below.
Hasta la vista!